
Along with the aperture setting and sensitivity control (ISO), shutter speed is one of the three ways that photographic exposure can be adjusted. Controlling your shutter speed means more or less light can reach your camera’s sensor, leading to two effects: the first is an increase or decrease in brightness, the second is a sense of action caused by blurred or still motion.
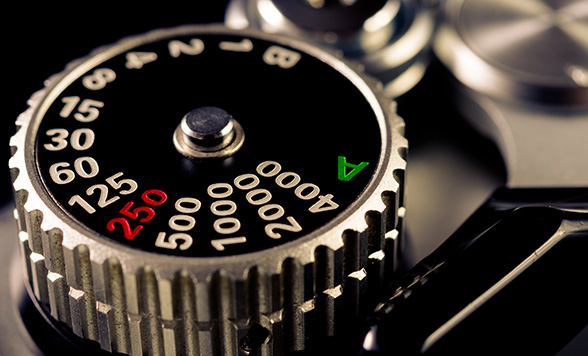
Shutter speed is measured in units of time, from fractions of a second to as much as 30 seconds. This unit is displayed as ‘1/4’, or a quarter of a second, with ‘1/500’ meaning one five-hundredth of a second. Modern digital SLR cameras have a very wide range of shutter speeds available, often having a ‘B’ (Bulb) setting where the shutter stays open as long as the button is pressed, and speeds as high as 1/8,000th of a second.
As shutter speed is measured in seconds, think of it as the amount of time you are allowing light to reach your camera’s sensor. If your camera is set to a slow shutter speed, the first thing you’ll notice is the effect of motion blur. This can be used to create images of wispy, almost milk-like water on a waterfall (see below). Slow shutter speed is also used at night to capture starlight or cityscapes.
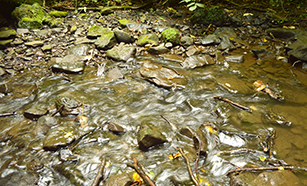
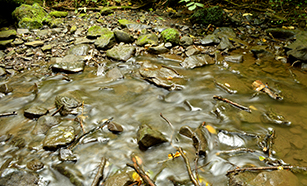
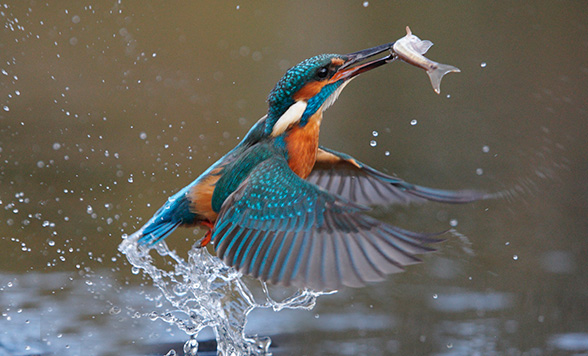
A fast shutter speed does the opposite, it freezes any action or motion. So your image of a waterfall would go from milky to pin sharp, allowing you to see droplets hanging in the air. This is especially handy for shooting birds mid-flight, as a slow shutter speed would result in blurred motion rather than frozen action.
Since a slow shutter speed allows more light to reach the camera’s sensor, it results in greater brightness and more exposure. By using a fast shutter speed, your sensor receives less light, meaning greater darkness and less exposure.
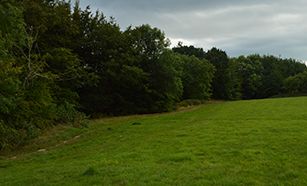
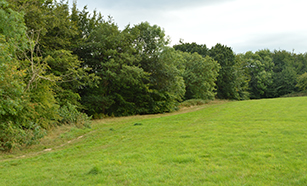
However, shutter speed needs to work with aperture and ISO when dealing with light, so it’s not simply a case of getting the shutter speed right, you need to choose carefully depending on what you want the final photo to display.
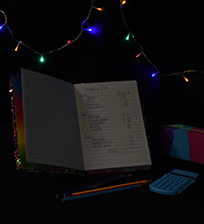
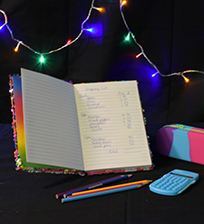
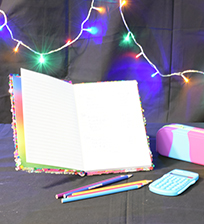
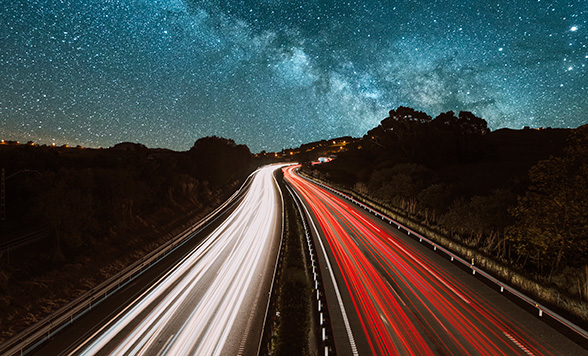
A slow shutter speed is great for capturing movement, the photo below was taken at 4s. When having the shutter open for that amount of time, it’s vital you use a tripod to remove any unwanted blur that would result from holding the camera in your hands. Using a tripod also allows you to capture a perfectly still background, ensuring the details remain sharp. which can further enhance the feeling of movement.
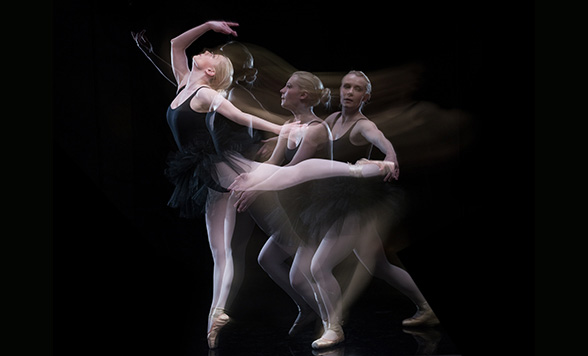
A lightning fast shutter speed, such as 1/1000th of a second, will freeze any action, as long as exposure is adequately balanced using a wide aperture and slightly higher ISO. As with the picture below, at that speed there’s no risk of hand shake, so you don’t need a tripod.
Another interesting effect achieved using long shutter speed is that of streaking car lights at night, or being able to ‘paint’ using sparklers. Set your aperture to the f/4 to f/5.6 range and start shooting with a shutter speed of around 4 seconds. Gradually raise the shutter speed until you get your favourite shot and remember to use a tripod.
You need a tripod if the shutter is going to be open for a prolonged time to avoid images looking blurry as a result of camera shake from being handheld. However, what is the threshold for switching from hand-held to tripod?
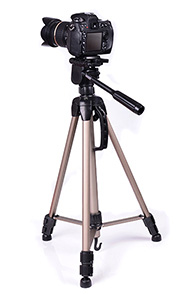
There is a rule of thumb that you need a tripod if your shutter speed is greater than your lens’s focal length: 1/50 for a 50mm lens, or 1/250 for a 250mm lens.
Understanding when to set your camera’s shutter speeds to their most creative effect is something that is easily learned but takes time to master. With practice, you’ll find your hands become steadier, and you’ll discover that shutter speed matters less when there is no action to shoot. When there is action, you can choose to freeze it or blur it, depending on the effect you want to give your photo.
As a photographer, it’s important to keep all your gear safe. That’s why we have developed specialist photography insurance to protect your camera equipment from theft or damage, whether at home or on a shoot. Get a quote from Ripe Insurance for Photography today.
Subscribe to our newsletter to keep up-to-date with all the latest photographic news, information and offers from Ripe Insurance for Photography and the Ripe Group.
The exposure triangle is a popular method that professional photographers use to connect the three main variables (aperture, shutter speed and ISO sensitivity) that govern the look of an image. Creating a stunning photograph is about balancing these three elements.
Aperture regulates how wide your lens opens, shutter speed controls the time your shutter is open, and ISO controls the sensitivity of the digital sensor. To get the most out of the exposure triangle, it is important to find the right setting balance to achieve the desired effect. Balance is the crucial thing to keep in mind - if you change one setting you have to change another, thus compromising on one effect to achieve another.
This guide to the exposure triangle gives you just that, taking you through the basics of each setting and giving tips on how you can set up your camera for particular shots. We’ll cover everything from shallow to deep depth of field, from still to moving subjects and from dark to light.
closeTo make the most of the exposure triangle and to challenge your skills, you’ll need to take your camera out of fully automatic mode and set it to manual. For this guide, we’ve also disabled flash to rely wholly on the natural or available light we had when taking the example photos. Disabling flash is not only a challenge worth setting yourself, but it also makes you aware of the interplay between each of the camera’s main settings of aperture, shutter speed and ISO.
close