
ISO is one of the three pillars of photography and plays a crucial part in controlling the brightness of your photos by adjusting the sensitivity of either the film or the imaging sensor. The acronym stands for the International Organization of Standardization, which standardised photographic film’s sensitivity to light. The concept began when you’d have to use a film roll marked ISO100 or ISO200 for daytime but swiftly change to an ISO800 roll when indoors as it had a greater sensitivity to light. The rating worked so well that it lives on in digital photography.
As with aperture and shutter speed, ISO is measured in ‘stops’, whereby a one-stop increase doubles the sensitivity. Therefore, ISO 400 is a one-stop increase over ISO 200, and ISO 3200 is a five-stop increase over ISO 100. If you decrease ISO from 200 to 100, you will have to balance the decrease with an increase elsewhere, for instance by changing your shutter speed from 1/125 second to 1/500 (depending on the lighting of the situation).
ISO affects exposure by brightening or darkening an image, but it also has an impact on quality. As you boost your ISO, the image you take will get brighter. ISO is therefore very useful in dark environments, allowing you to have greater flexibility with shutter speed and aperture.
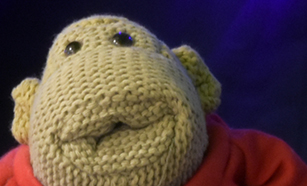
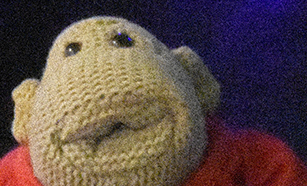
Quality is lost in the introduction of grain, or noise, to a photo. If your ISO is too high, then your picture will be grainy, which might risk ruining it. In the image above, you can see that ISO 800 was a perfect setting for the available light, as we balanced the setting with a higher shutter speed. However, when we raised the setting five stops higher to ISO 25600, the image suffered from too much grain.
The grain introduced with a higher ISO is, in fact, digital noise caused by the increased electric charge required to enhance your sensor’s sensitivity to light. The result is a photograph covered in speckles, the higher the ISO, the more charge you’re using and more speckles will appear. With more noise comes a decrease in image quality.
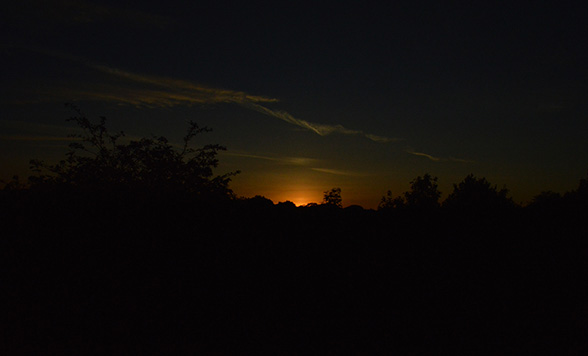
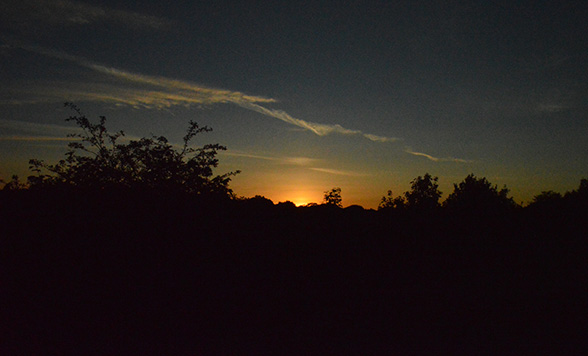
However, the other two camera settings are there to help, and if you have a dark environment, you simply need to adjust either your aperture or shutter speed to invite more light to the sensor, thus decreasing your reliance on ISO. If you’re shooting a pier at sunset, set your camera to ISO 800 and alter your shutter speed until you get the perfect shot: too fast with an ISO of 3200 or above will show grain, whereas slow enough to get the right exposure and you’ll have a picture worth framing.
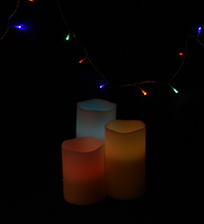
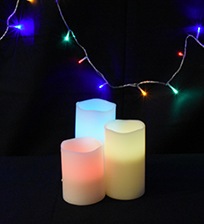
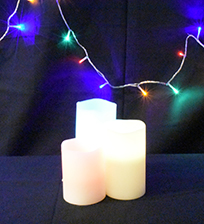
As a rule, you should always keep your ISO at its lowest (your camera’s base ISO). If you have plenty of light available, there's no need to digitally enhance it, instead use aperture and shutter speed to capture the best shot. We recommend using ISO 100 to 200 for a sunny outdoor picture.
You should increase the ISO when there isn’t enough light to capture a sharp and bright photo such as outdoors at night or indoors when you don’t want to use a flash. If you want to capture motion, such as a bird mid-flight, then a higher ISO would compensate an ultra-fast shutter speed, thus removing any motion blur.
Lowering ISO reduces the amount of noise generated on your photos, so to keep the quality sharp you’ll need to lengthen the shutter speed or widen the aperture appropriately. Another way of increasing quality when taking a photograph is to shoot RAW. RAW files contain a lot more information than your typical JPEG, and don’t get compressed, this results in less noise and a sharper picture.
ISO is part of the exposure triangle and is a measure of how much your camera digitally enhances the amount of light in a photograph.
A low ISO allows aperture and shutter speed to produce the photo you want when you have plenty of light. A high ISO gives you the ability to shoot in darker environments at faster shutter speeds and smaller apertures, which will result in more noise and lower quality.
Is noise really a bad thing? No, since it allows us to shoot at dawn, dusk, and in the dark. After all, you can always reduce noise later in post-production.
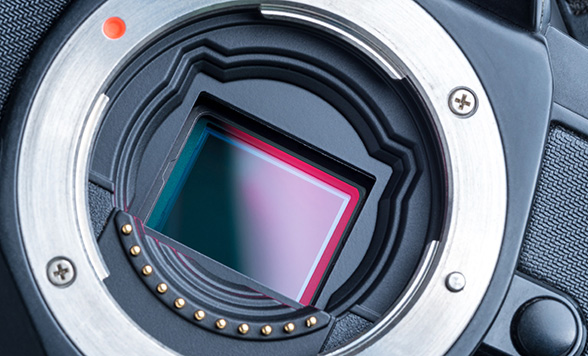
As a photographer, it’s important to keep all your gear safe. That’s why we have developed specialist photography insurance to protect your camera equipment from theft or damage, whether at home or on a shoot. Get a quote from Ripe Insurance for Photography today.
Subscribe to our newsletter to keep up-to-date with all the latest photographic news, information and offers from Ripe Insurance for Photography and the Ripe Group.
The exposure triangle is a popular method that professional photographers use to connect the three main variables (aperture, shutter speed and ISO sensitivity) that govern the look of an image. Creating a stunning photograph is about balancing these three elements.
Aperture regulates how wide your lens opens, shutter speed controls the time your shutter is open, and ISO controls the sensitivity of the digital sensor. To get the most out of the exposure triangle, it is important to find the right setting balance to achieve the desired effect. Balance is the crucial thing to keep in mind - if you change one setting you have to change another, thus compromising on one effect to achieve another.
This guide to the exposure triangle gives you just that, taking you through the basics of each setting and giving tips on how you can set up your camera for particular shots. We’ll cover everything from shallow to deep depth of field, from still to moving subjects and from dark to light.
closeTo make the most of the exposure triangle and to challenge your skills, you’ll need to take your camera out of fully automatic mode and set it to manual. For this guide, we’ve also disabled flash to rely wholly on the natural or available light we had when taking the example photos. Disabling flash is not only a challenge worth setting yourself, but it also makes you aware of the interplay between each of the camera’s main settings of aperture, shutter speed and ISO.
close