
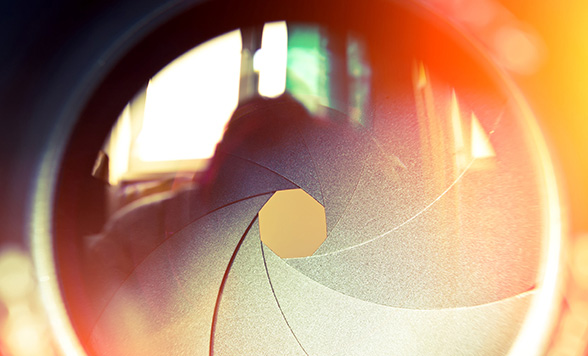
Aperture is a key element of the exposure triangle, and mastering it gives you control over exposure and depth of field. This is despite aperture simply being a hole within a lens! The wider the lens, the more light comes through to reach the sensor. It expands and contracts similar to how your eye’s pupil expands and contracts depending on whether you’re in a light environment or a dark one.
Aperture is measured in ‘f-stops’ where the ‘f’ stands for ‘focal length’ - the distance from the centre of the lens to the subject. Each ‘stop’ is labelled with an ‘f’ followed by a number such as f/1.8. The lower the number, the wider the lens, which means more light is allowed in. If you want less light to enter your lens, then opt for the larger numbered aperture.
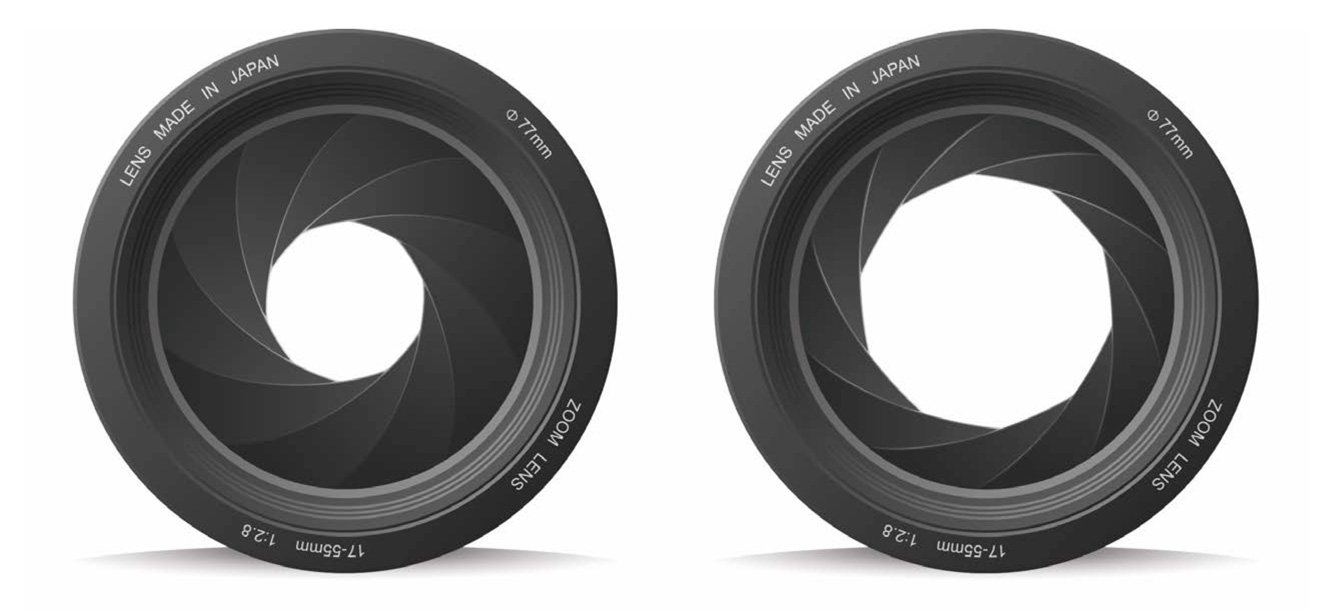
Along with determining the amount of light that can reach the sensor, aperture also controls a photo’s depth of field, which is the measure of how much depth is in focus in the image.
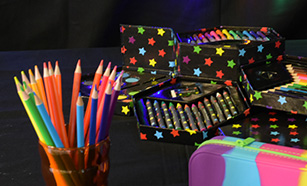

An image with a large depth of field (and high aperture) will have a sharp focus on all objects from the foreground to the background. On the other hand, an image with a small depth of field (and low aperture) will have a concentrated focus on a single point in the photograph, with the foreground and background being blurred.
On your camera, you’ll notice a meter on its display denoting the level of exposure available. You can use the wheel to adjust your aperture or shutter speed setting to the correct exposure in order to make the most of the available light and produce the perfect photo.
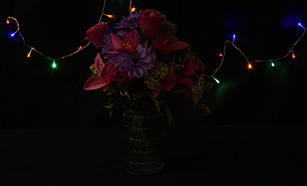
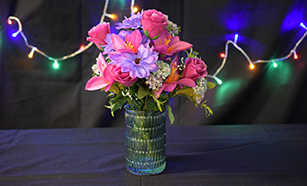
However, sometimes you need more control, and adjusting exposure involves dropping aperture (or shutter speed) by one or several stops. Since aperture, shutter speed and ISO all work together, there is technically a way of finding the same exposure value (EV) by using different combinations of the three elements. For instance: f/8, 1/250, ISO 400 offers the same exposure value as f/4, 1/500, ISO 200.You’d essentially get the same photograph with the same level of exposure because the three settings are balanced for that EV.
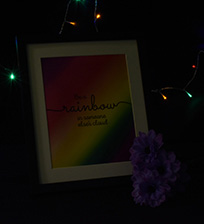
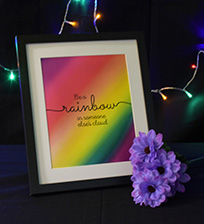
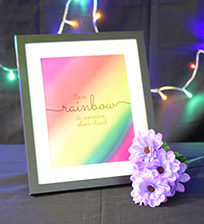
If the values are not balanced, then you risk overexposing or underexposing your photo (see image above, left)
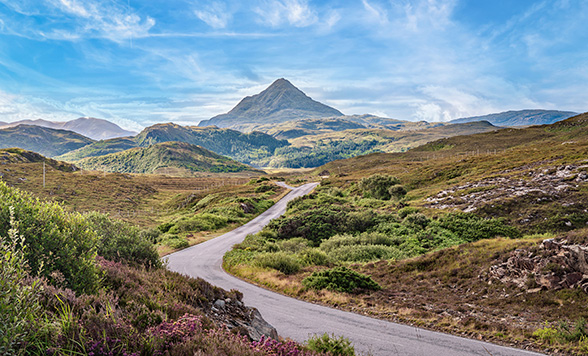
Given the amount of natural light in landscape photography, you can afford to drop the ISO to 100, set the aperture to narrow such as f/22, and use the shutter speed to experiment with the light to achieve your perfect picture. Remember to pack a tripod.
In portrait photography, it’s often desirable to have a blurred background, as the focus on the subject is made greater. Therefore, opt for a wider aperture of f/5.6, add a relatively fast shutter speed, and you shouldn't need a tripod.
At night if you’re shooting handheld, it’s best to keep a larger aperture such as f/11 as that will limit the risk of blur and take in just enough light for a good photo. Remember to raise the ISO and play around with shutter speed until you get it just right.

You may wonder why professional photographers always carry several lenses. This is because all lenses have a limit of how wide or narrow the aperture can be. Check the inscription on the edge of any lens and you’ll see markings such as ‘18-55mm’ which is the focal length of the lens, or ‘f/3.5-5.6’ which is the maximum aperture. Once you get the hang of understanding lens limitations, you’ll see how the Nikon 18-55mm f/3.5-5.6 lens is much more affordable than the Nikon 24-70mm f/2.8 lens which offers a greater focal length and greater maximum aperture. Each lens will suit different situations and lighting, which is why the pros carry bags full of different lenses. That’s not to say a cheaper lens produces lower quality shots, only that you’ll need to apply a greater balance of shutter speed and ISO to get the right shot.
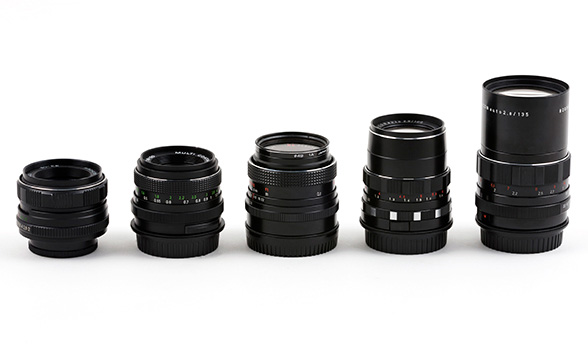
All lenses have a limitation called 'maximum aperture'. This is the widest the lens can open, and the top of the range lenses can open as far as f/2.8, with an exclusive handful managing f/1 and below. Those are capable of capturing extremely sharp night-time photographs without the worry of grain ruining a good shoot.
Aperture is a key element of the exposure triangle because it controls the brightness and depth of field of your photographs. These two variants are what makes your work stand out, so mastering aperture is critical to reaching the next level in photography.
As a photographer, it’s important to keep all your gear safe. That’s why we have developed specialist photography insurance to protect your camera equipment from theft or damage, whether at home or on a shoot. Get a quote from Ripe Insurance for Photography today.
Subscribe to our newsletter to keep up-to-date with all the latest photographic news, information and offers from Ripe Insurance for Photography and the Ripe Group.
The exposure triangle is a popular method that professional photographers use to connect the three main variables (aperture, shutter speed and ISO sensitivity) that govern the look of an image. Creating a stunning photograph is about balancing these three elements.
Aperture regulates how wide your lens opens, shutter speed controls the time your shutter is open, and ISO controls the sensitivity of the digital sensor. To get the most out of the exposure triangle, it is important to find the right setting balance to achieve the desired effect. Balance is the crucial thing to keep in mind - if you change one setting you have to change another, thus compromising on one effect to achieve another.
This guide to the exposure triangle gives you just that, taking you through the basics of each setting and giving tips on how you can set up your camera for particular shots. We’ll cover everything from shallow to deep depth of field, from still to moving subjects and from dark to light.
closeTo make the most of the exposure triangle and to challenge your skills, you’ll need to take your camera out of fully automatic mode and set it to manual. For this guide, we’ve also disabled flash to rely wholly on the natural or available light we had when taking the example photos. Disabling flash is not only a challenge worth setting yourself, but it also makes you aware of the interplay between each of the camera’s main settings of aperture, shutter speed and ISO.
close