
Astrophotography with a telescope: A beginner’s guide

If capturing the night sky is high on your photography agenda this year, you’ve come to the right place. Astrophotography can reap some truly incredible results, especially if you have the right know-how.
Here we’ll take a look at how to get started on capturing astrophotography with a telescope, from which settings to use to how to take photographs of stars.
What equipment do you need for telescope astrophotography?
While you can use a very high-quality lens to snap photos of the sky at night, you may also want to experiment with capturing astrophotography with a telescope. This will give you a much clearer, more detailed image – especially if you live in a more urban area where there are higher levels of light pollution.
First things first, you’ll need to purchase a telescope. Which one you choose, and any additional attachments you need, will depend on how you want to use it. Many photographers simply snap photos on their smartphones or DSLR cameras directly through a telescope’s eyepiece.
However, you can also buy special astrophotography telescopes where you can mount your camera via an adapter or T-ring to the eyepiece for a clearer, more precise image. These can be pricier, so they are best for those considering taking up astrophotography as a serious hobby.
You’ll also likely need a tracking mount, which will help keep objects in space in focus as the Earth slowly rotates. Harrison Telescopes sells both.
Understanding the best camera settings for astrophotography
When it comes to astrophotography settings, this will entirely depend on what camera you’re using. If you’re using a standard DSLR camera, you’ll want to make sure you have it set on a wide aperture and set the shutter speed so it’s open for about 20 seconds. You could also set it to a longer shutter speed if you want to capture trails of stars for an arty shot.
Many digital cameras may also have preset programs for night sky photography, although you may prefer to keep it in manual mode so you can easily alter the settings to suit different nighttime conditions. You should also set up the ‘live view’ mode on your camera screen (or a connected laptop) if you have one, as this will make it much simpler to see exactly what you’re capturing.
How to take photographs of stars and planets with a telescope
As mentioned above, there are two ways you can capture astrophotography with a telescope.
Firstly, you could hold up your camera or smartphone to a telescope’s eyepiece and capture images through it. Or, you could mount your camera to a telescope and then use a tracking mount to keep your chosen object – whether that’s a star, planet or another celestial mass – in focus.
Common mistakes beginners make
Achieving fantastic images using astrophotography takes patience and practice. Here are a few common mistakes you’ll want to avoid if you’re brand-new to it and want it to be successful.
1. Don’t go out in cloudy conditions
Astrophotography with a telescope works best when the skies are clear and the light pollution is low. Read our guide on cloudy day photography for tips on shooting in dull weather.
2. Using incorrect settings
It’s important to have a little play around with your camera settings before you start seriously shooting space. Every camera is different, and so many other factors also come into play, including what you’re trying to photograph and your surrounding environment.
3. Not aligning your telescope to the celestial pole
If you’re keen to capture a specific star system or planet, you’ll first need to find it and track it through your telescope. Make sure you align it to the Earth’s axis rotation (otherwise known as polar alignment) first to make it easier to track specific locations.
Tips for better results when learning astrophotography
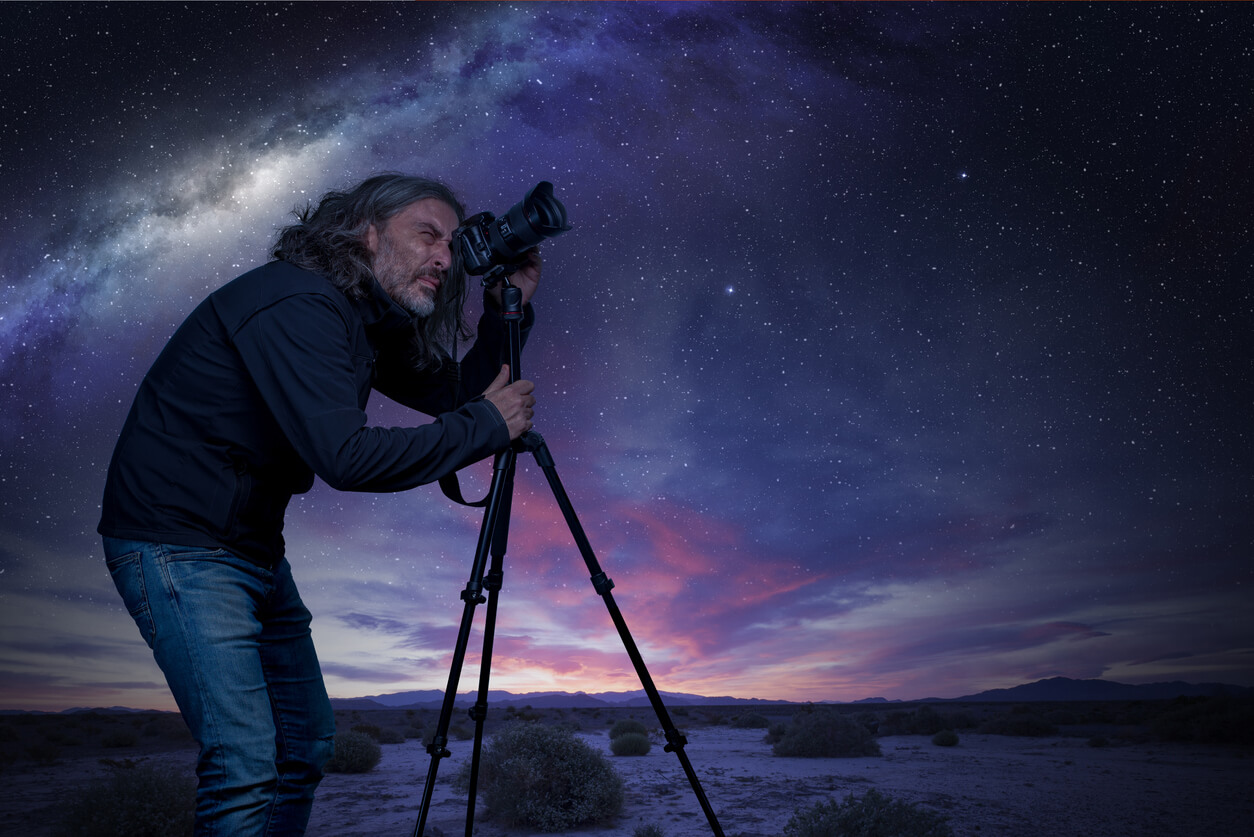
- Use a tripod mount: Astrophotography is all about precision, so make sure your telescope or camera is set up on a tripod mount to keep it as still as possible.
- Try a longer shutter speed: As you’ll be shooting in low light levels, you’ll want to experiment with using longer shutter speeds.
- Adjust the white balance: To reduce any light pollution showing up on your images, adjust the white balance to either a cooler or warmer tone to see what impact it has.
- Play around with the ISO: You’ll typically want a higher ISO setting when shooting in low light, but it’s worth playing around with it to see what different results you get on a lower setting.
- Set your camera to record RAW image files: As shooting in the dark records a lot of data, you’ll want to set your camera to capture RAW image files rather than JPGs. This will ensure you’re able to edit and enhance the photos later on a computer or laptop.
Can you do astrophotography with a Dobsonian telescope?
Yes, a Dobsonian telescope is the ideal option if you want to give astrophotography with a telescope a try. They’re well-loved by amateur astronomers for their ease of use. Plus, you can easily connect a camera (whether that’s a smartphone, DSLR or more specialist model) to a Dobsonian telescope’s eyepiece using the right adapter.
Check out our guide on AI in photography for help with post-production.
Specialist photography insurance through Ripe
Planning an astrophotography shoot? You may want to protect your camera and accessories with specialist photography insurance.
Through Ripe, you can cover up to £60k of equipment for theft and accidental damage, so you can focus on enjoying your shoots. Get an online quote in minutes.
Please note the information provided on this page should not be taken as advice and has been written as a matter of opinion. For more on insurance cover and policy wording, see our homepage.
Please enter a valid email address.
Please Please tick one of the boxes below.
The latest news – direct to your inbox.
Subscribe for all the latest news, tips and offers from the Ripe Group. You can unsubscribe at any time. For information on how we use your data, please see our Privacy policy.
Thank you for subscribing, you’ll be hearing from us soon!