How To Clean A Camera Lens In 4 Easy Steps

Have you noticed smudges on your camera lens or specks of dust through the viewfinder? If so, it might be time to carry out some maintenance.
Cameras are delicate pieces of equipment, though, so you need to take care when wiping down dust and grit.
If you’re not sure where to start or what you’ll need to clean your camera lens, this article will teach you everything you need to know. Here’s how to clean a camera lens in 4 easy steps.
Table of contents
1. What you need to clean your camera lens
2. Step 1 - use the blower to remove dust
3. Step 2 - use the lens brush
4. Step 3 - spray your lens with lens cleaning fluid
5. Step 4 - wipe your lens with the microfibre cloth
What you need to clean your camera lens
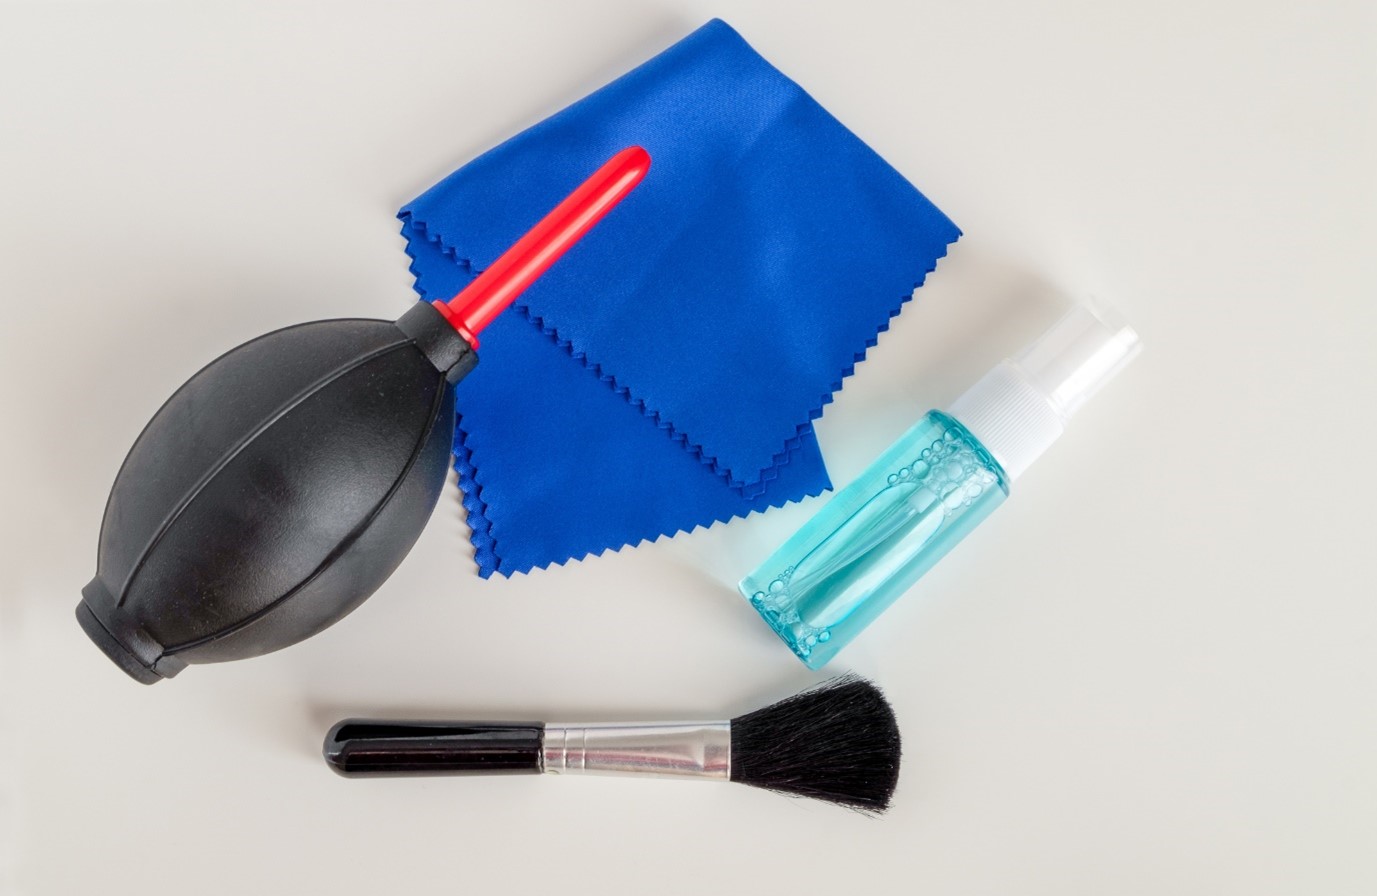
Getting hold of the equipment you need to clean your camera lens is pretty simple. All you need is an air blower, a soft-bristled brush, a lens wipe, and some lens cleaning fluid.
There are plenty of camera cleaning kits to choose from but, given the simplistic nature of the equipment, for the most part, any given one is as reliable as the next. As we’ve mentioned before, we like the CAMKIX Professional Camera Cleaning Kit as it’s only £10.99 and comes with everything you need – and then some.
This kit includes:
- An air blower so you can dislodge dust from delicate or tight areas of the lens and its mechanisms.
- A double-sided lens cleaning pen. One side is a non-liquid cleaning element designed never to dry out, and the other is a brush.
- 5 microfibre cleaning cloths so you can polish any last bits of grease and dust off your lens.
- A large brush for dry dusting.
- A bottled lens cleaning solution.
- 50 lens tissues for quick dusts and wipe downs.
There are more expensive and expansive options available in shops and online, but you’ll most often use the blower, microfibre cloth, and cleaning solution.
Step 1 – use the blower to remove dust
Unless you’ve been taking photos in a sandstorm, you’ll find most dust and grit in the fixtures and exposed parts of your lens, so you won’t have to dismantle it.
If there ever comes a time when you think you need to dismantle it to properly clean it, we recommend hiring a professional.
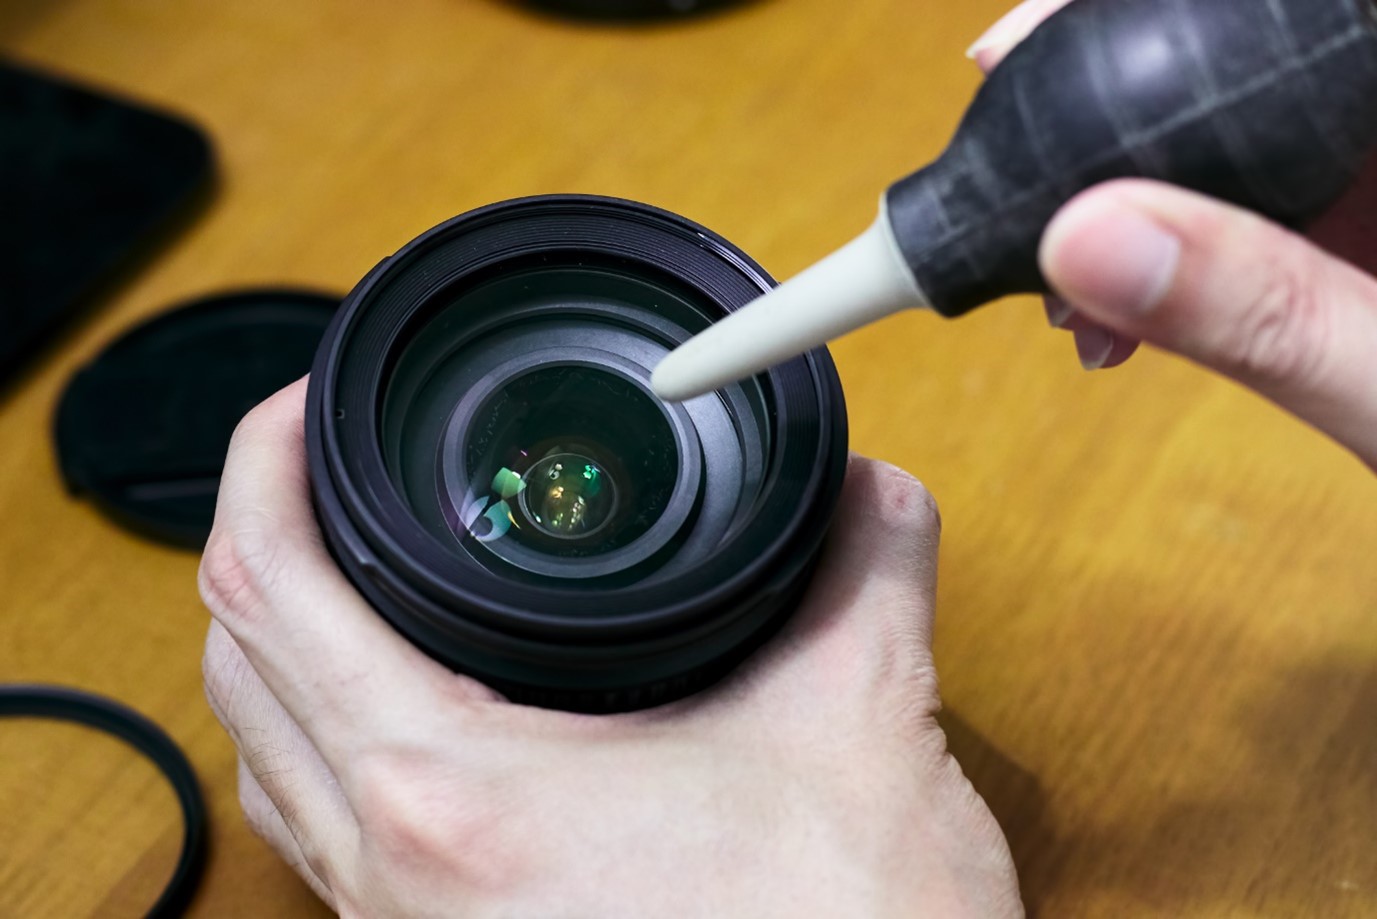
The good news is that, for all-purpose lens maintenance, this step is as simple as it looks. All you need to do is detach your lens from your camera and squeeze the blower around the fixtures and grooves within your camera lens. Doing this will dislodge any lighter particles and non-tacky grit or dust.
Make sure you get in every nook and cranny and up close to the area you’re blowing – but be careful not to touch the lens. Keeping a close distance like this means the air pressure will be more concentrated, therefore stronger and better able to dislodge dust. It also means you won’t blow more airborne particles onto the lens.
Using the blower should always be the first step when cleaning your lens, as the blower is the most non-invasive cleaning method and keeps the dust dry. If you’re lucky, the blower should clear away most of the debris from your lens on its own.
Tip: give the blower a few puffs before using it on your lens – this should clear away any dust in the blower itself.
Step 2 – use the lens brush
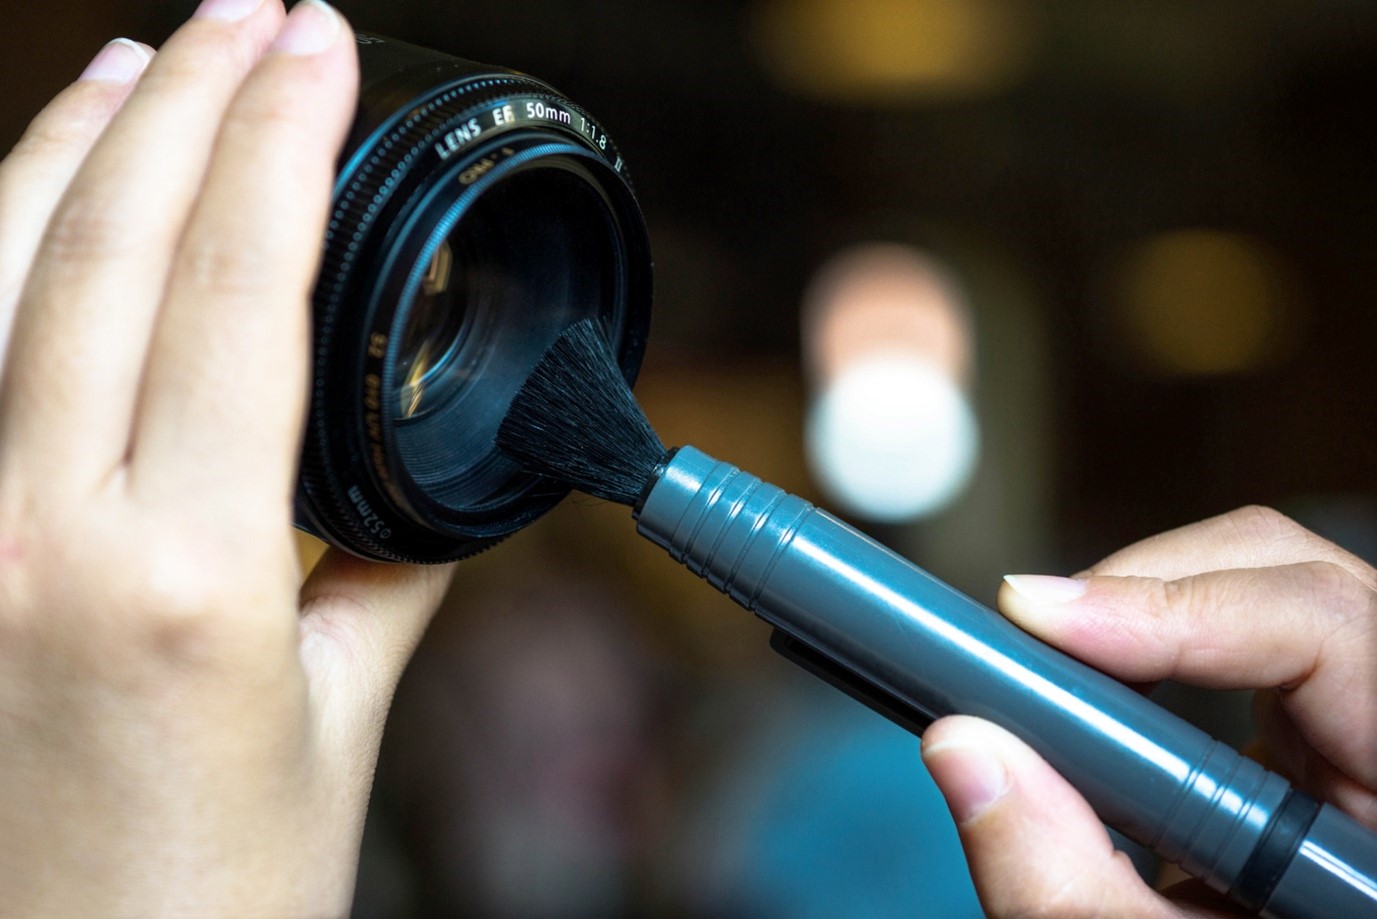
If dust or grit remains on your camera lens after you’ve used the blower, it’s time to move onto the next step – using the brush.
Try to keep the bristles of the brush clean and protected from dirt and grease when storing them between cleaning sessions. Many cleaning kits include brushes with retractable bristles to keep them protected for this reason.
It’s also a good idea not to touch the bristles with your hands. You don’t want to find the lens has more smudges and dirt on it after using the brush than before you touched it!
The method for brushing your lens is straightforward – just lightly wipe over the lens without applying too much pressure. You don’t want to jam the bristles or bend them while brushing, as this may damage both the brush and your lens.
Your focus will be on brushing the glass parts of the lens, but it’s always worth brushing off the lens body. This step is important as dust and grime settles in the grooves and ridges of the lens body, too. The dust here won’t impact the quality of your shots, but it’s good practice to keep your gear clean and well-maintained.
Tip: once you think you’ve done enough brushing, hold the lens up to the light to illuminate any last particles of dust and wipe them away from the centre outwards.
Step 3 – spray your lens with cleaning fluid
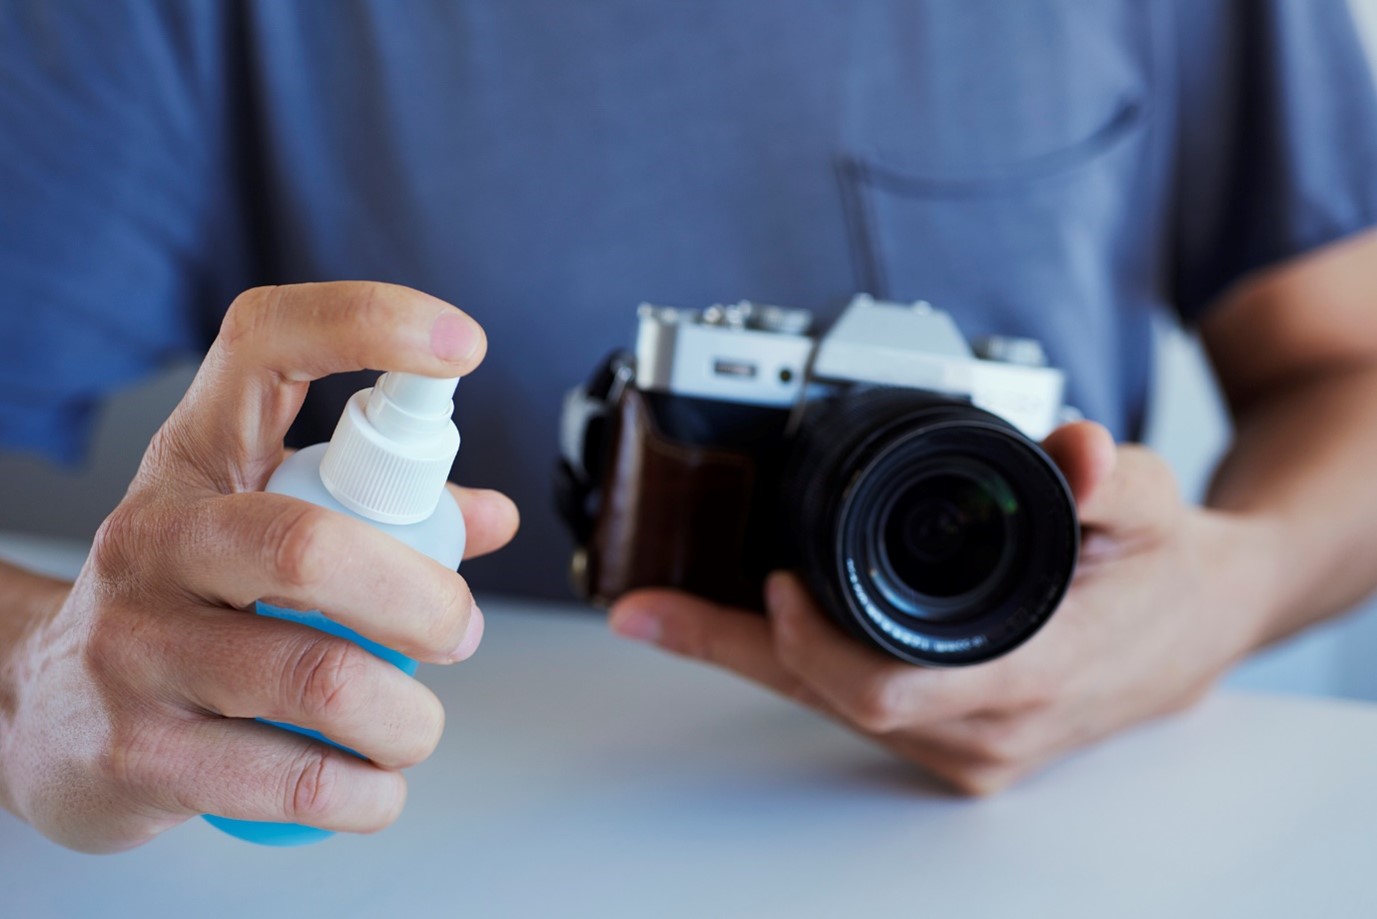
Once you’ve applied the two dry lens cleaning methods – blowing and brushing – it’s time to apply the lens cleaning fluid.
The lens cleaning fluid comes later in the cleaning routine because you really want to dislodge all the dry dust from your lens first. Wet dust clumps together and becomes sticky, thereby making it harder to remove.
This fluid is usually an alcohol-based solution designed to break down any grease on your lens. Grease could get on your lens due to splashes during a rain shoot or from you accidentally touching it.
To use the cleaning fluid, spray it a few times into a cleaning tissue or microfibre cloth, and lightly wipe the lens in a circular motion. Do not spray the solution directly onto the lens. At first, the solution may leave streaking on the lens, but after a short while, it will evaporate.
An alternative to spraying your lens solution is to buy single-use, pre-soaked lens cleaning wipes. These aren’t quite as messy as dry lens cleaning tissues and do the same job.
You’ll notice fingerprints or inconsistencies in the glass part of the lens when examining it in the light, so wipe until you’re satisfied the lens is grease-free.
Tip: if you’re not keen on the idea of introducing liquids to your camera lens, you can buy a non-liquid cleaning pen designed to remove grease from lenses instead. Many cleaning kits also come with them, such as the one we mentioned above.
Step 4 – wipe your lens with the microfibre cloth
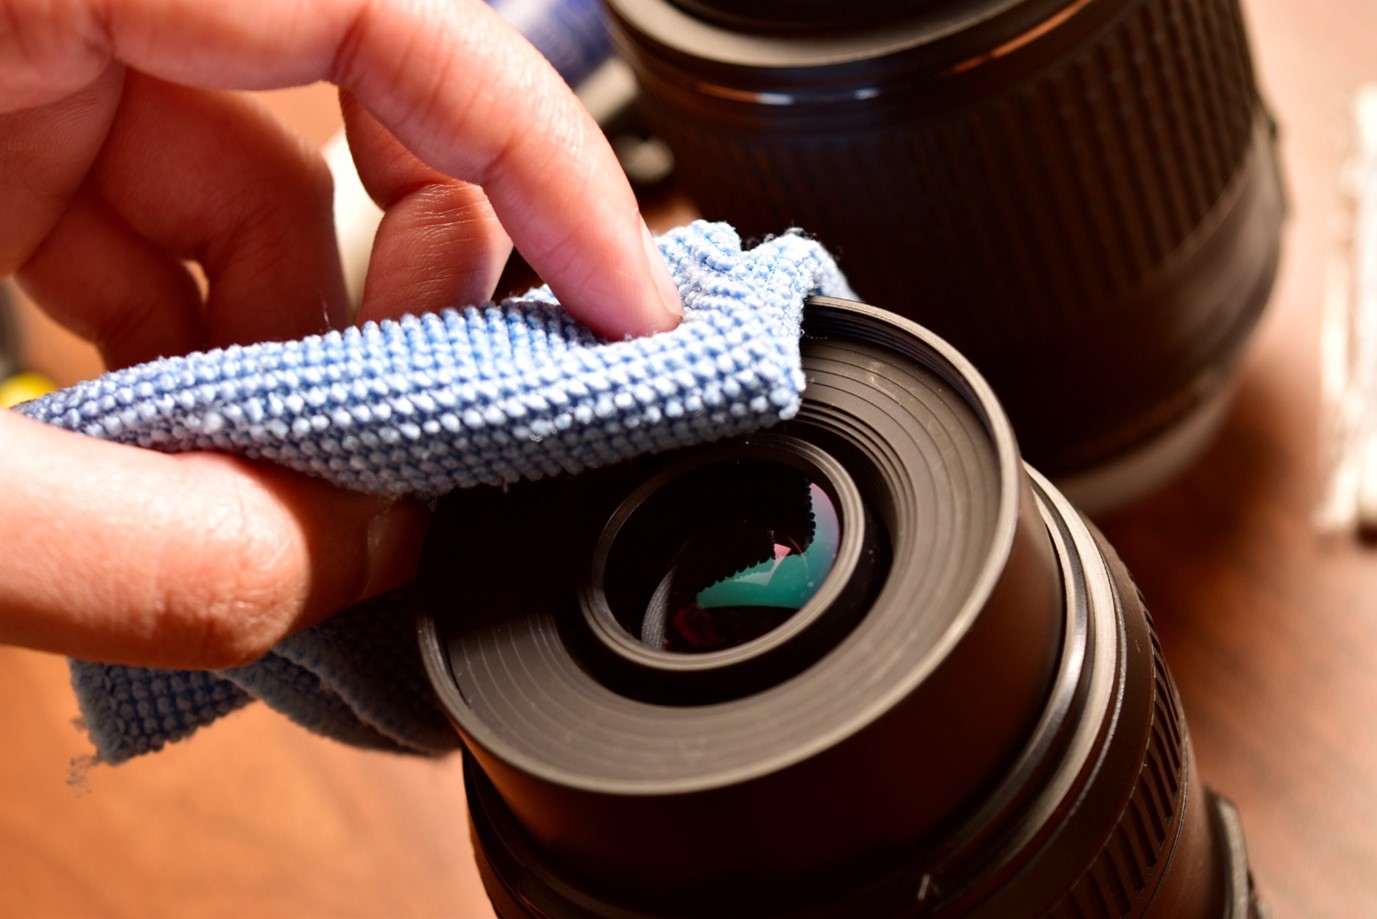
Once you’ve wiped your lens with the cleaning fluid, the last step is to wipe off any residue with a microfibre cloth. If the lens cleaning solution leaves behind some streaking, the microfibre cloth will take care of it.
The advantage of a microfibre cloth over a regular one is that the fibres are split to over 100 times smaller than human hair, which creates greater surface contact. The cloths are also naturally statically charged due to the polyester and nylon construction, which means they draw dust away from your lens.
It’s important to only use cloths on your lens that are designed to wipe delicate surfaces. A standard tissue might be too rough and could scratch your lens. If you don’t have a microfibre cloth, the soft cloth wipe that comes with a pair of glasses is a good alternative.
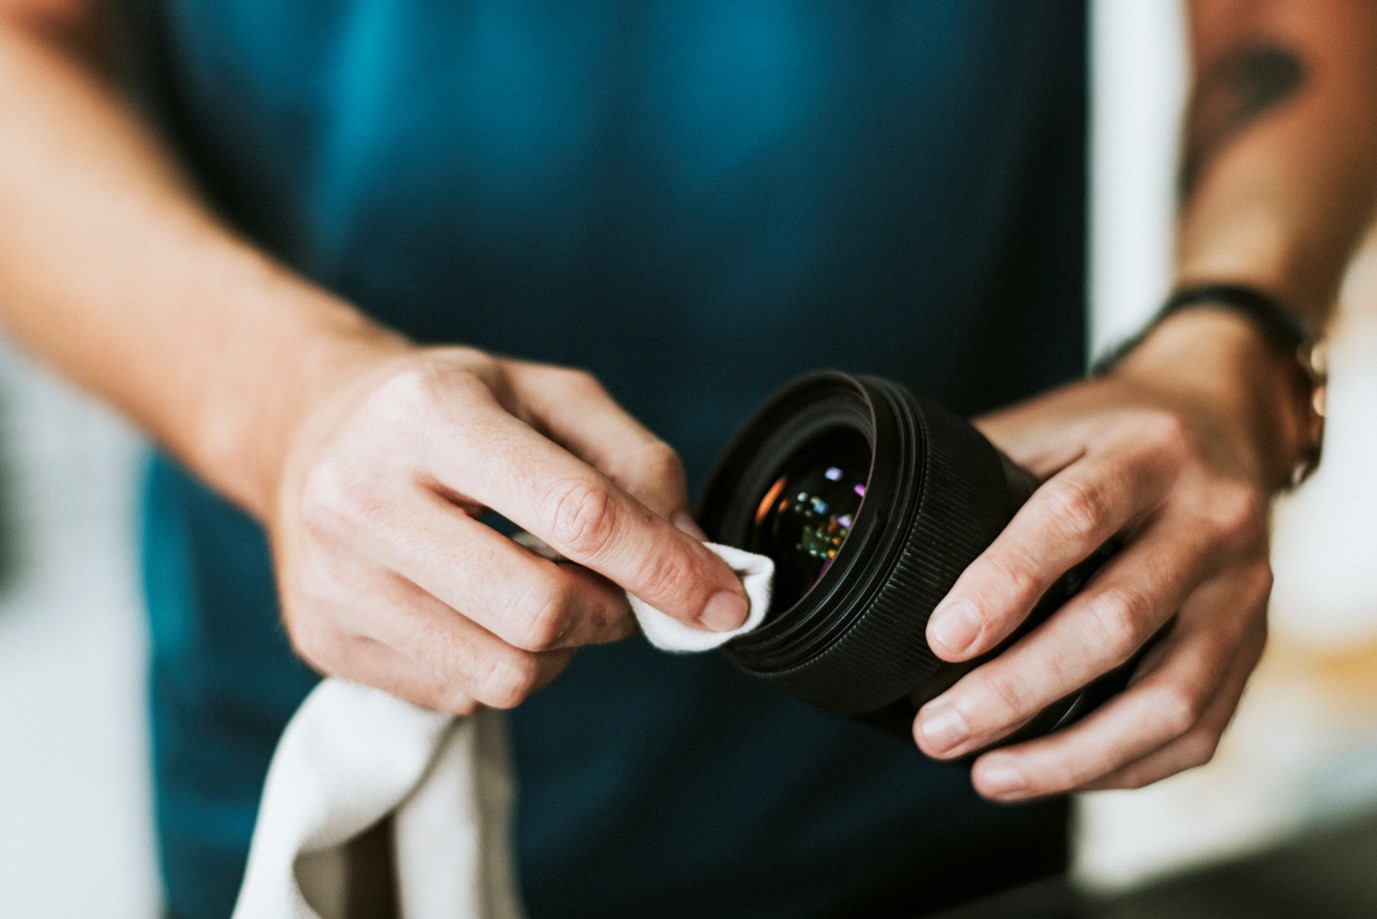
Just fold the cloth around your index finger and rub in circular motions from the centre outwards until the lens appears clean and grease-free.
Tip: while microfibre clothes should be washed once in a while, don’t wash them with fabric conditioner as they can leave behind chemicals that can leave streaks.
Specialist photography insurance from Ripe Photography
If you’re willing to take the time to maintain and clean your lenses, you clearly care about protecting them from harm. That’s why you may also want to get specialist photography insurance.
Specialist photography insurance through Ripe covers your camera, lenses, and photography equipment against loss, theft, and accidental damage. Better yet, we even offer European and Worldwide cover, and you can tailor your policy to suit your exact needs.
Get an instant online quote today and see what we can do for you.
Please note the information provided on this page should not be taken as advice and has been written as a matter of opinion. For more on insurance cover and policy wording, see our homepage.
Please enter a valid email address.
Please Please tick one of the boxes below.
Let's stay in touch. Sign up to receive special offers and exclusive discounts.
Your data is safe with us and you can unsubscribe at any time. For more information, please see our Privacy policy.
Thank you for subscribing, you’ll be hearing from us soon!


