
Drone photography: shooting from the sky

In recent years, drone photography has really taken off. The entire field of aerial photography has been revolutionised by the advent of camera-equipped drones, turning what was once a very niche form of photography into something available to a wide range of photographers.
Gone is the dependence on aeroplanes and helicopters, replaced by these small pilotless aircraft, easily controlled by a single person on the ground.
Today, obtaining unusual viewpoints of familiar subjects is perfectly feasible, ranging from a raised angle, as if looking from a hillside, to direct downward views that can result in extremely effective, if slightly disconcerting, compositions.
Moreover, many structures that cannot be seen in their entirety at ground level suddenly become perfectly viewable and wholly more understandable when seen from the air.
In short, a new host of possibilities have opened up with the dawn of the drone age. Exciting new compositions have been created for landscape and travel photographers, as well as commercial options for such people as estate agents, architects, land surveyors and farmers, not to mention movie and advertisement makers.
Drones come in at quite a range of prices, starting at a few hundred pounds and reaching up to several tens of thousands. It all depends on what you want to do with it and how deep your pockets are. Let's start by considering some drone photography basics.
What is a drone?

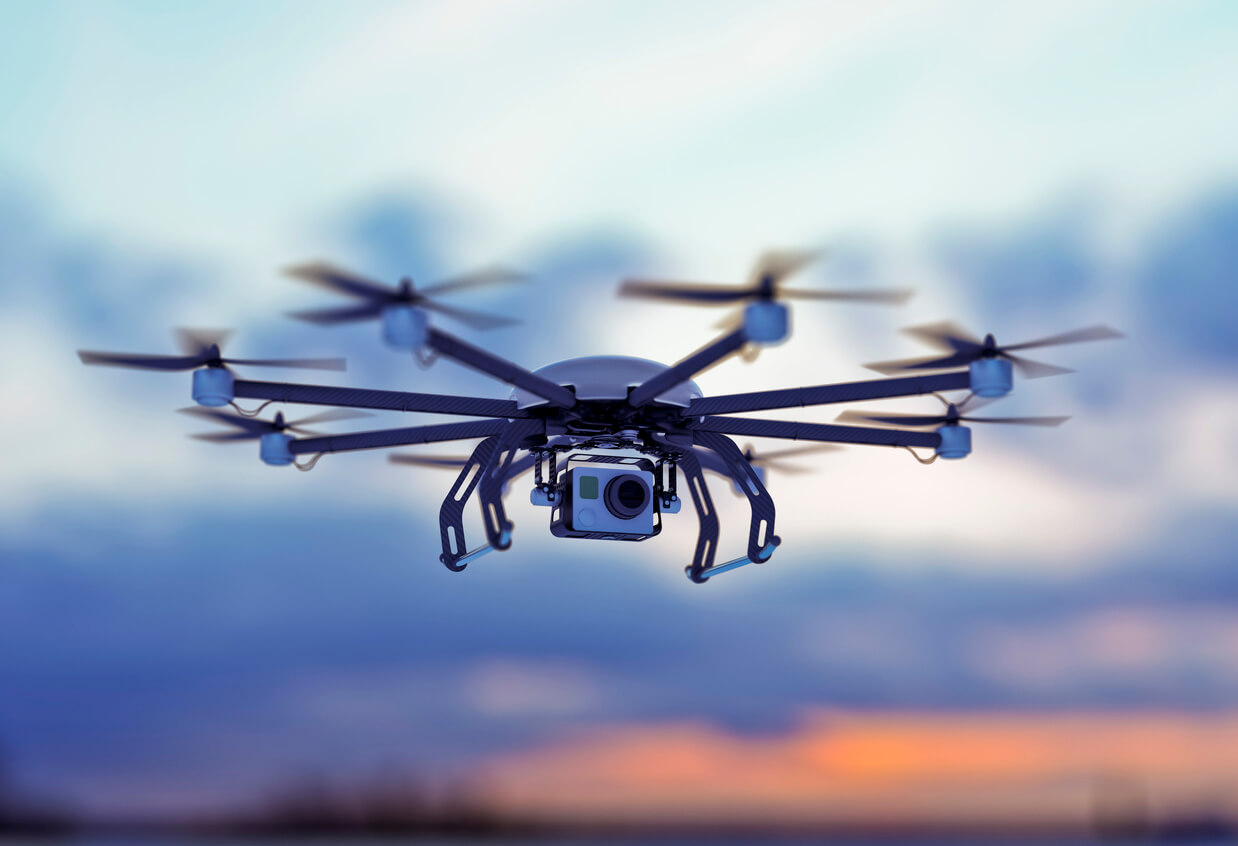
At its most basic, a drone is any unmanned, remotely controlled aircraft, which can vary in size from just a few centimetres across to several metres. However, we're looking at devices about 12-100 cm across for photographic purposes.
They are generally powered by several vertically mounted motors that drive horizontal propellers, usually four in smaller drones. These are sometimes known as quadcopters.
An essential adjunct is a remote controller, which communicates with the drone to control its flight path. The distance over which the two can communicate with one other is critical. In the past, some of the cheapest drones had communication distances of only a few hundred metres, but today even the simplest generally stretch to several kilometres.
Although many controllers have no screen to show you what the drone is seeing, they usually have a mobile phone or tablet connection, which you can use for this purpose.
When it comes to drone photography, it is tempting to want to buy a drone without a camera and then mount it on your DSLR or mirrorless device. However, this comes with several problems, the most significant of which is weight, plus the resulting additional power needed to lift the drone and camera off the ground.
Then there is, of course, the risk of losing your precious camera should the drone crash.
Although such powerful, camera-free drones are available, they come at quite a cost premium, so for most of us with a tight budget, it makes a lot more sense to go with a drone with a built-in camera.
This option reduces weight and cost significantly, and although it does come with a few photographic compromises, it is by far the best option for the great majority of photographers. More on the cameras later.
Related: Summer photography: what to shoot during the holiday season
What to look for in a drone
Whilst it is generally true that the more you pay, the more features you get, there is also some variation in price around models with seemingly similar specifications.
Not surprisingly, various features are emphasised to different degrees in different models, which often determines the price. It would help if you looked at these closely and decided what is important to you. Here are a few of the most important points to look at:
1. Build quality versus weight
While you don't want a drone built like a tank, neither do you want one that is flimsy and will fall apart the first time you give it a rough landing.
One feature to consider is whether or not there are integral propeller guards that will protect the blades from damage during a bad landing. Going against sturdy construction is overall weight, as this is important when it comes to the regulations for the use of drones (see below).
Those weighing less than 250g are subject to less stringent rules, so it is interesting to see the number of models coming in just a scratch less than this magic number.
2. Battery power
Drones use rechargeable Lithium batteries, which provide a relatively long-lasting power supply. That said, most can still manage only 30-40 minutes in the air, some less than this. So flight time on a single charge is a major issue and one that needs to be closely considered when looking at what drone to buy, along with the availability of spare batteries and charging times.
3. Communication and control

Every drone is supplied with a remote controller, the two of which communicate via radio signals, with a range of several kilometres.
Of course, a great fear is always the potential of losing control over the drone or losing power while in flight. Still, in today's drones, these are greatly minimised, not only by the long communication distances possible but also by some specific safety features, especially the Return to Home (RTH) feature found on most.
Through this, the drone monitors its power consumption, and when it gets too low, it will automatically direct the drone to return to its take-off point. Many remote controllers also come fitted with an RTH button: hit this, and the drone will immediately return to you.
As already mentioned, the lack of a monitor on most remote controllers is overcome by a facility to plug in a smartphone that will connect to the drone's camera, enabling the operator to see exactly what the drone's camera is looking at. It is also often possible to plug in a tablet for a larger view.
This ability to see what the drone's camera is seeing is called First Person View, and you can enhance it by plugging into the controller a virtual reality headset. Doing this puts the operator right there with the drone, hugely enhancing the flying experience.
Unfortunately, it is also not an entirely safe thing to do, as the view is inevitably only two-dimensional and provides no view beyond the limits of the camera's field of vision.
4. GPS control
Many control features are enabled through the advanced global positioning systems (GPS) and are now installed in just about all drones.
The RTH feature, of course, relies totally on this, as does a drone's ability to hover with such incredible precision that photography, even with exposure times of several seconds, is perfectly feasible.
The Follow Me feature in some drones is also tied to the GPS systems. Set this up, and the drone will follow the operator wherever they go, keeping the camera fixed on them.
This feature has been effectively used in several fields, especially sports, including skateboarding, cycling and skiing. The resulting imagery of the athletes in action can be quite dramatic.
5. Useful phone apps
Control of the drone can be further extended by a plethora of smartphone apps, which can give control of both the flight and the camera to the smartphone. However, not all apps are equal, and not all apps will work on all phones or drones, so it is important to access the right apps.
Additional apps are available to provide maps, weather details, and information on no-fly zones and flight plans, to name a few.
6. Camera mounting
How the camera is mounted to the drone is critical for safety, security, and stability. Vibration is an inevitable issue, both from the motors and any wind, and if this reaches the camera, it will manifest itself in poorer quality images.
The only solution is a good quality gimbal, a mount that includes a gyroscopic head, something that will keep the camera rock steady regardless of any vibration.
7. The camera
With the weight at an absolute premium, not surprisingly, a drone's camera typically makes several compromises on versatility and features.
Most have a fixed focal-length lens, usually set at a wide-angle view roughly equivalent to 20-24 mm on a full-frame DSLR. A few do have a zoom facility, but this is usually at the expense of image quality.
Sensor size is also reduced, but today's sensors offer up large pixel counts, often over 40 megapixels (MP), though many still come in at just around 20 MP. Despite the limitations, stills and video quality can be extremely good.
Drone technology is pushing the latter's boundaries, most offering good quality 4K video, and some providing 5K or even 6K video output. Onboard image storage is usually via microSD cards, with transmission back to a mobile phone also possible for some models and at some resolutions.
Apart from the limitations, the cameras offer features that would be standard on most DSLRs or mirrorless cameras, including variable ISO, the ability to shoot in Jpeg and RAW formats, auto-bracketing of exposures and high-speed shooting bursts.
Some also offer high dynamic range (HDR) photography, making it possible to shoot high contrast scenes without any of the highlights burning out.
Drone photography techniques

With so many things to think about simultaneously when undertaking drone photography, starting with ensuring that it stays in the air, it's not surprising that there might be a temptation to forget basic photographic skills.
However, all the usual photographic rules of exposure, lighting and composition still apply. This includes things such as 'less is more', simplicity in composition, and the rule of two-thirds, to name the most obvious.
The raised viewpoint gained through the use of a drone is still novel. Coupled with the usual wide-angle view of a drone camera, it fits in well with the generation of stunning images that can use such landscape features as:
- diagonal walls
- roads
- streams
- hedges
- fences
They can all be used to huge effect from this raised viewpoint.
Also important is the view that looks directly downward, resulting in some truly stunning compositions. These are views we never normally see, and the results can sometimes be a little disconcerting to the human brain used at most to some downward angle that provides a certain amount of depth and clarity as to which way is up and which down. The directly downward view provides none of that.
With the drone's hover facility made steady by the GPS, time-lapse sequences are now possible, with the images perfectly aligned.
Similarly, long exposures, such as at dusk and dawn, generating moody images and previously possible using only a camera firmly anchored to the ground on a tripod, are now perfectly possible. This technology has become a complete game changer for atmospheric landscape photography.
Drone photography rules and regulations
No discussion of drone photography would be complete without a look at the host of regulations that cover drone usage.
Across the world, virtually every country has regulations governing the use of drones. The Civil Aviation Authority (CAA) regulates all aircraft movements in British airspace in the UK.
Being such a new field, the regulations are still evolving, but a complete revamp in 2020 clarified things and greatly reduced the distinction between professional and amateur usage.
The most fundamental rule is that – with a few exceptions - anyone flying anything but the smallest of drones must have a Flyer ID. Everyone responsible for maintaining a drone must have an Operator ID, both obtainable from the CAA. Of course, the flyer and the operator will often be the same person, requiring them to have two IDs.
There are then three different categories of usage, the most important one from the perspective of amateur photographers being the Open category. Drones and their flyers able to fly in this category do not need to obtain flight approval from the CAA for each flight. Though there is a list of rules to obey, and it may require some qualifications.
The Open category is subdivided into A1, A2 and A3. A1 covers toy drones and those under the magic weight of 250g, allowing them to be flown directly over people for short periods.
A2 and A3 cover larger drones and requires them to stay a certain horizontal distance away from people and built-up zones. Those distances can be reduced for those flyers willing to take a short course to obtain a Certificate of Competency.
The CAA has also announced a classification system for drones, ranging from C0 to C4. The smallest drones will fall into the C0 and C1 categories and be allowed to fly in the A1 division of the Open category. C3 and C4 drones will be limited to A2 and A3.
The system comes into effect in January 2023, so if buying a drone before then, it is important to check that it already has a C classification.
Apart from these specific categories and classifications, there are several general rules that all drone flyers and operators are expected to obey. These include the need to fly safely and responsibly, respect people's privacy on the ground, maintain a direct line of sight to the drone at all times, and absolutely no flights higher than 120 metres (400 ft).
Finally, anyone flying a drone has to stay well away from no-fly zones. Not surprisingly, these include the space around any form of airport, no matter how small, military zones, nuclear sites, and parts of some national parks.
Becoming a drone photographer
So armed with all this information, it is now possible to launch off into this revolutionary field of drone photography and the exciting new horizons it offers.
Huge advances in technology in recent years, along with simplification of the regulations, now make it accessible to a wide swathe of amateur and professional photographers and videographers. Far from being a flash-in-the-pan fad, drone photography is here to stay as a significant arm of the photography world.
This blog was written by Nigel Hicks, a hugely experienced Devon-based professional photographer. Nigel works with the USA's prestigious National Geographic Image Collection, among many other bodies, and is a Fellow of the British Institute of Professional Photography.
Nigel runs regular photography workshops in southwest England. To find out more about these, go to https://www.nigelhicks.com/photography-workshops-courses/.
To learn more about Nigel's work in general, feel free to take a tour of his website at www.nigelhicks.com.
Specialist camera insurance through Ripe Photography
Drone photography is exciting, but the unthinkable can happen when you use your equipment on the go. That's why you may want to consider specialist camera insurance.
At Ripe Photography, we arrange theft and accidental damage cover up to the value of £30,000 for portable equipment you use when shooting on location and up to £60,000 in total.
Learn more about specialist camera insurance, or get an instant online quote today.
Please note the information provided on this page should not be taken as advice and has been written as a matter of opinion. For more on insurance cover and policy wording, see our homepage.
Please enter a valid email address.
Please Please tick one of the boxes below.
Let's stay in touch. Sign up to receive special offers and exclusive discounts.
Your data is safe with us and you can unsubscribe at any time. For more information, please see our Privacy policy.
Thank you for subscribing, you’ll be hearing from us soon!